Showing posts with label DIY. Show all posts

Monday, February 1, 2016

DIY PAPER BAG SCRAPBOOK PAPER

I do not know about everyone else but we save paper bags.  We have used them as gift wrap with different decorations on them.  But this is mainly at Christmas time.  Then I got the bright idea of using them in my scrapbooking and card making.
                                    
I decided I want a textured look to this particular paper so I crumpled it up.  I did not want it  "too" crumpled so I laid it out and ironed it just a little.
                               
Then I laid a piece of card stock paper on top and traced around it.  This gives me a guide to cut the textured flattened paper bag. I avoided some marks on the paper so did not start at the top of the paper.
Then used scissors to cut round my tracing.
Using my cutter a cut was made on the line down the middle of the large piece of paper bag.  Scissors could be used for this too.
 On the back side (at least that is what I call it) is a seam in the bag, as you can see in the picture above.
As a guide for my cutter a mark is placed on either side of the seam Once the lines are traced on, I cut along those lines.
After cutting the lines I now have two pieces of the bag.  They are not the size of card stock so they are cut into shapes I can use.
 Another problem I encountered was some kind of grease mark on the paper. It is a little difficult to see in the picture.
The card stock was used as a guide to miss the grease mark. 
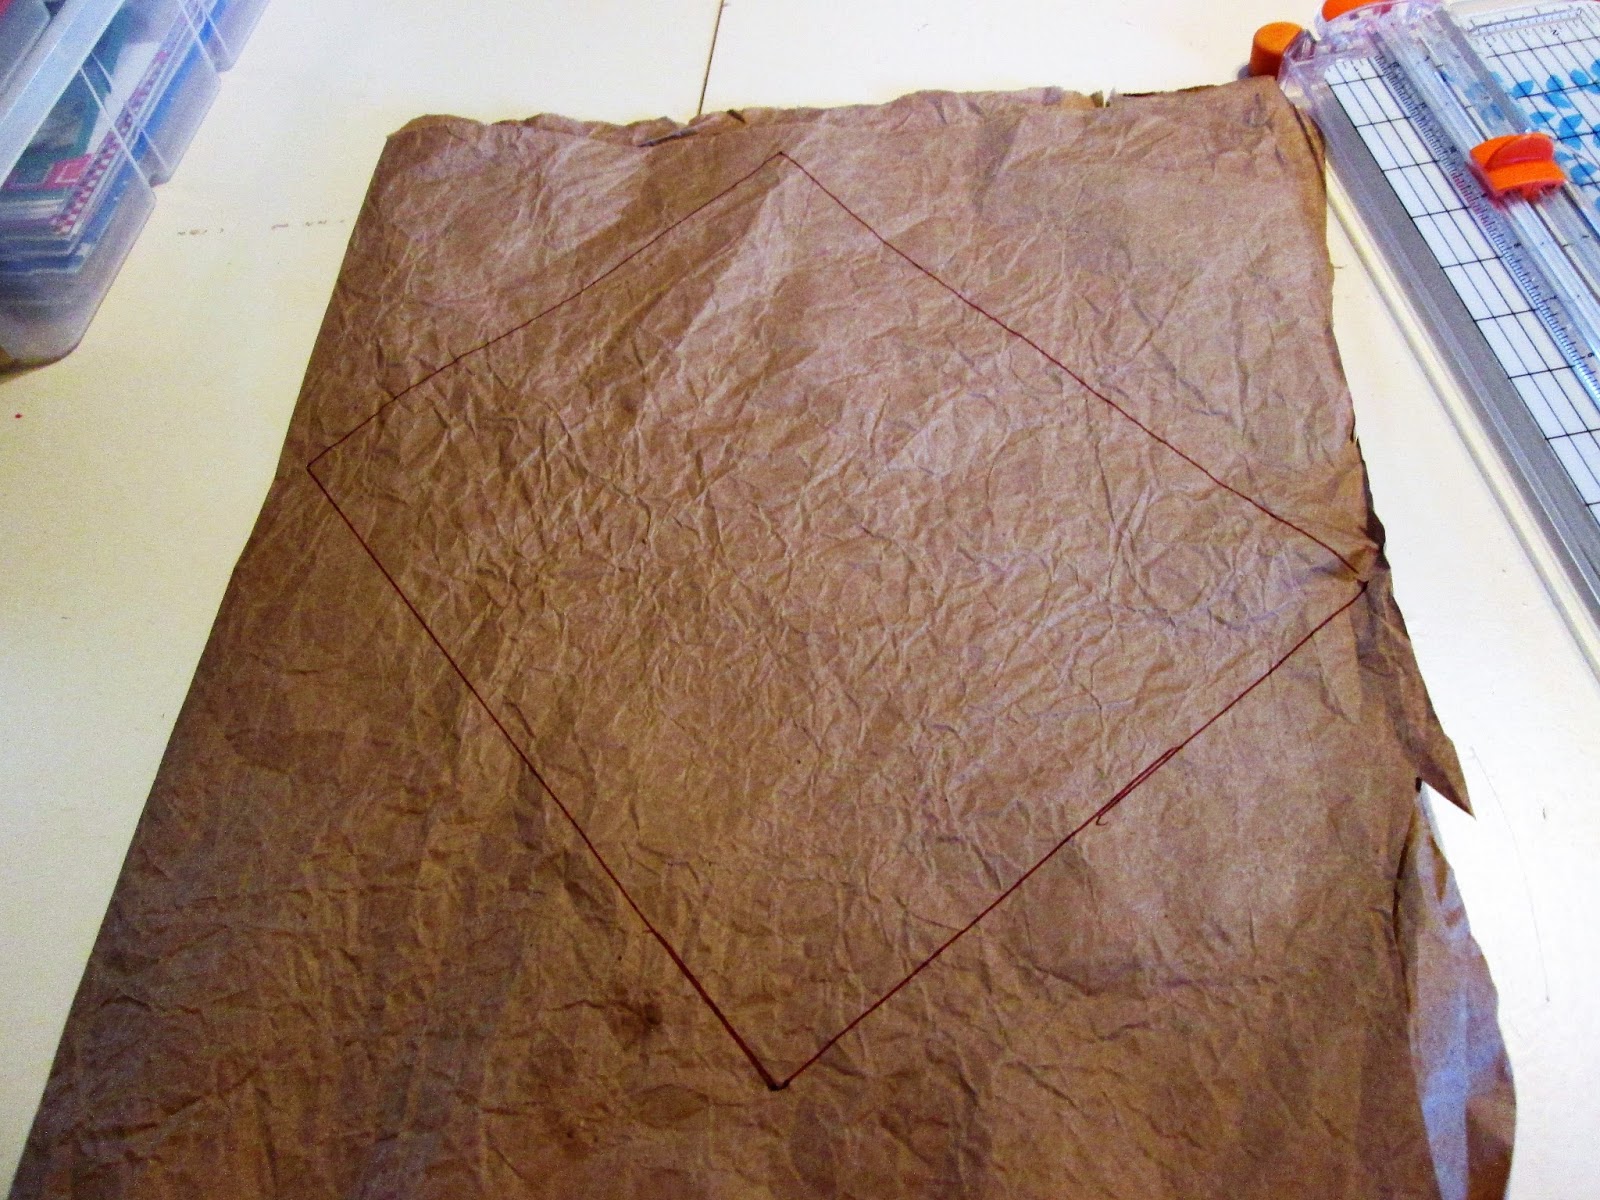
I traced around the card stock. Easily missing the grease mark.
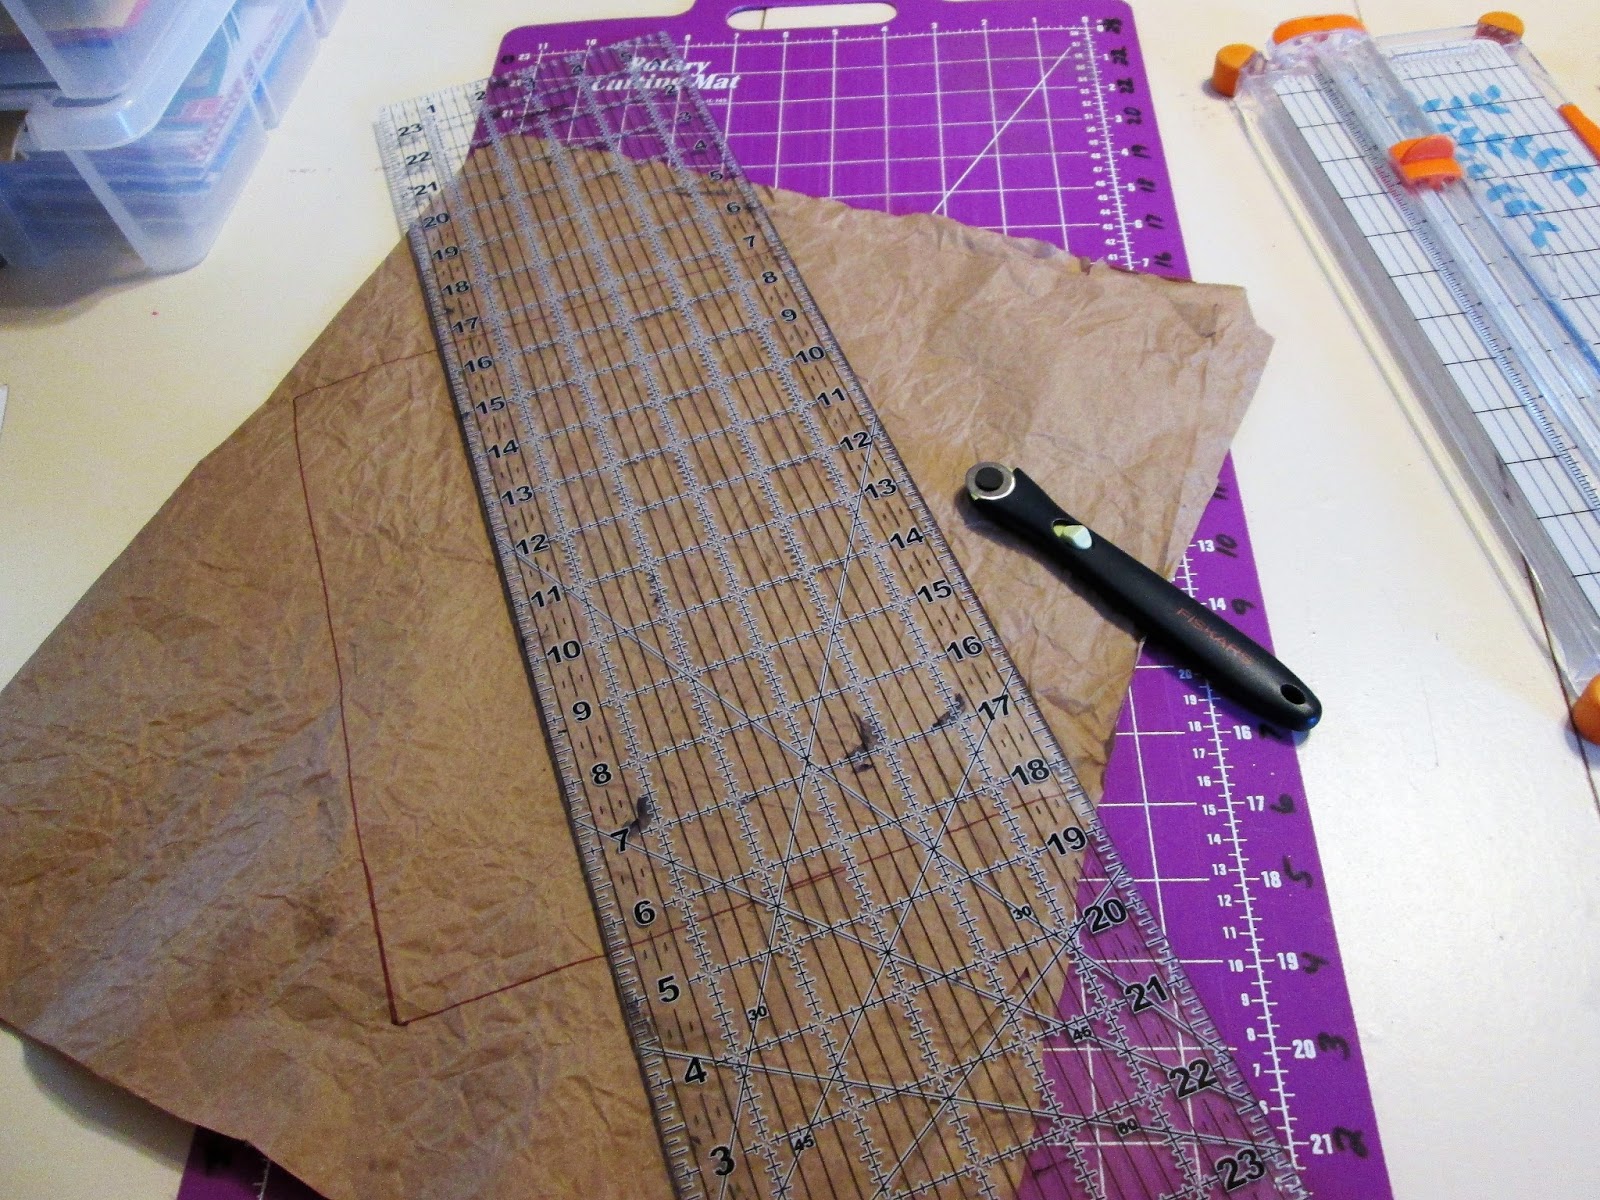
In this picture I used another method of cutting besides my scissors.  I used a roller cutter.  It worked really well.  Did have to make sure I pressed firmly to cut.
I trimmed some of the extra pieces that I will use as accents in my scrapbooking.

Some pieces of paper were too small for cardstock but were big enough to use making cards

Another method with the brown paper bags is to tear edges.  This gives the paper a different bit of texture and character to my scrapbooking. 

I now have several pieces of paper from the 2 brown paper bags that I can use as accents or as card stock.  What gave me the idea was when I was going to scrapbook some old family ancestor pictures. Of course I am sure there will be more uses.
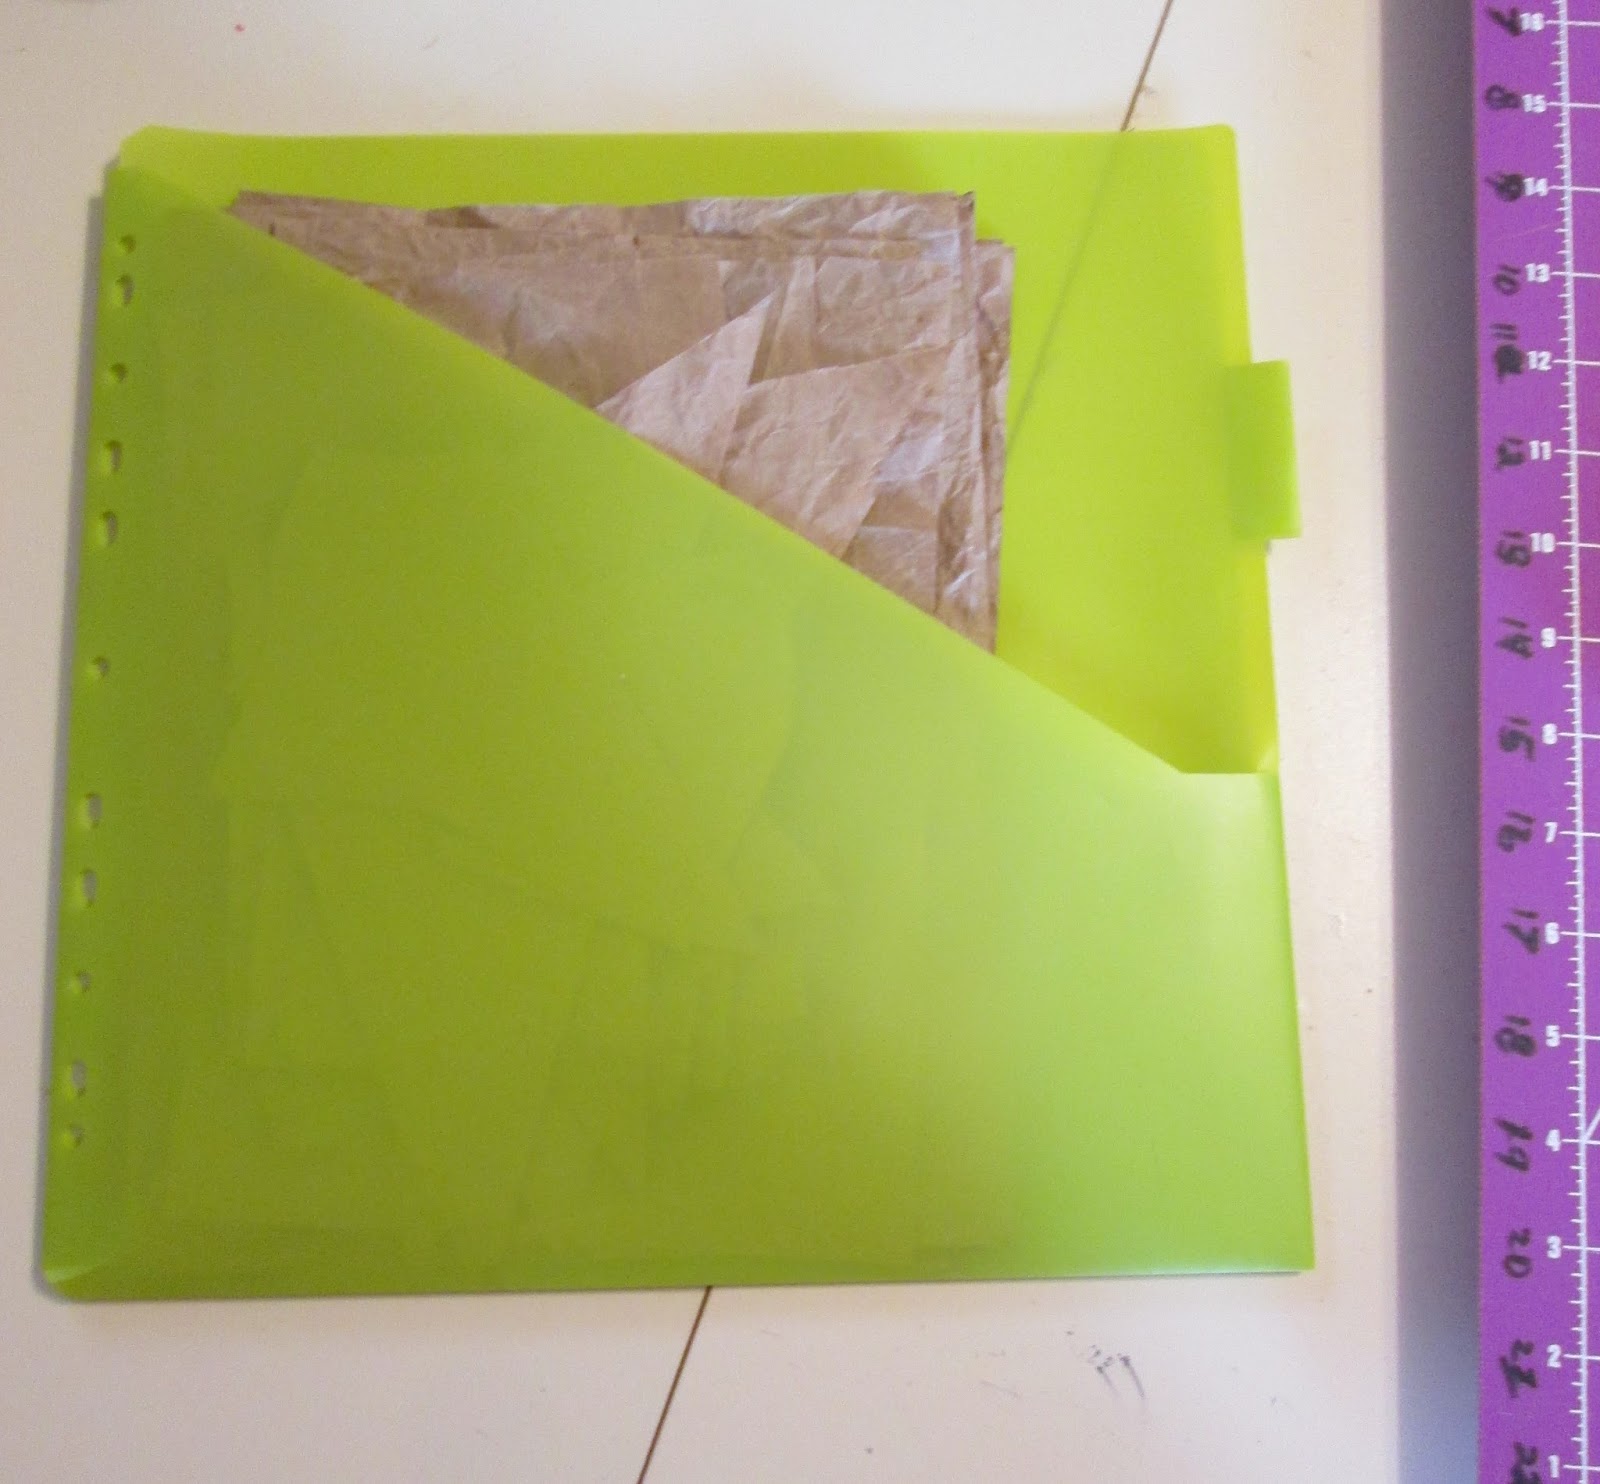
Now my free paper pieces are stored and ready to go.  Hope this gives everyone ideas on what to use around the house to scrapbook with.  I think I may start thinking what else I can use as paper accents.

Here is a couple scrapbook pages I did with the diy paper bag paper.


Thursday, February 14, 2013

RELINGING A TRAVEL SUIT CASE-TUTORIAL


Photobucket
This travel case was given to me years ago by my mother.  It had been a very useful travel cosmetic case for many years.


Photobucket
As you can see although it is still useful it has seen better days.  I had attempted to glue in a piece of fabric to the top several years ago.  Not my best work for sure.  Must have been done in a big hurry to go some place.
This case definitely needs some TLC and a new look to take on vacation. 
Photobucket


This was the results of my endeavor to reline my cosmetic case.  Try finding an older case at a thrift store or redo one of your own and get many more years of usefulness for just a little time.  The Tutorial of how I relined it follows.
Photobucket
1.  Carefully remove old lining.  Use these pieces as your guide to make all pieces.


Photobucket
2.  This is just an example of how I made the bottom pattern. First  measure the lining bottom piece and then  measure the bottom of the case.  I found the case did not match up with the lining.  Over the years somehow it had shrunk or they had a great industrial machine that made it fit at the time.  SO BE CAREFUL THAT THE CASE MEASURES THE SAME AS THE LINING PIECES.  Then use them as an example to make your pattern pieces.
3.  After measuring  the bottom of case use a cutting board to measure and make a bottom pattern piece.  I use wax paper as it is inexpensive at  the Dollar General store.  Use a permanent marker to out line your pattern, it does not go through the wax paper. I have made hundreds of patterns this way.  Just use see through tape such as scotch tape to make larger pieces.
4.  NOTE: Because the other pieces are going to overlap the bottom piece make the bottom piece a little larger so that it goes up the edge a little.


Photobucket
5.  To make the curved edges a soup cup was used.  Any curved object that will give you the desired curve will do.
6.  Use the above technique for making the other pattern pieces.


Photobucket
7.  The main new lining was cut out of a drapery curtain that was bought at a thrift store. 
8.  I wanted the lining to have a little more sturdiness to it, so with a piece of quilted fabric I cut out one of each of the pieces.  I used the lines on the quilted fabric as a guide and sewed the fabric to the lining giving it a quilted look. You could use 2 pieces of fabric with some kind of lining in the middle like the kind used for quilts.
9.  The next step was to cut out plastic from quality Zip-Lock bags for protection to the fabric.  [Gee, wish there was a craft or fabric store closer than 2 1/2 hours away.  Iron on vinyl would have been great.  The zip lock bags did fine and with stood my vacation travel for a month.


Photobucket 
10.  Using your largest zig-zag stitch (so the plastic will not tear) sew around the edges of fabric and plastic.
Do this to all lining pieces in appropriate places.


Photobucket
11.  After securing the plastic I used bias binding around all the edges. It is easy to make bias binding for yourself and be able to create the binding of your choice.  Visit my post on making bias binding http://nanasknoll.blogspot.com/2009/09/bias-tape-instructions.html


Photobucket
12.  Apply glue to the bottom of the case.  In my case the pieces overlap other pieces, so you will have to observe how your case went together. Taking pictures of the different areas will help when making pattern pieces and reassembling and gluing.  A fabric glue was applied and then a little hot glue to hold it in position until the fabric glue set up.


Photobucket
13.  The next piece is the side piece.  As you can see 3 pieces were used to make the length of the side pieces.  Where the pieces are joined, bias tape is used to hide the seams.  This side piece is made with the same procedures as steps 1-3.
Photobucket
14.  Apply fabric and hot glue in the same way as the bottom on the sides, leaving the top edge unglued.


Photobucket
15.  Once the side is secure apply glue to the top edge all the way around.


Photobucket 
16.  The next piece is the flap that hangs down from the lid to the center of the travel case. The top section of this piece does not have the zip-lock bag sewn on it as it is not needed.


Photobucket
17.  I measured the old piece that held bottles in the case. I made a narrow piece and inserted elastic.  The elastic was pulled a little tighter as the old piece was a little stretched out.  The elastic piece was sewed with a tight zig zag stitch on each end.  Measure the same distance from either end and sew again allowing for 3 sections.


Photobucket
18.  This flap piece needed a little weight and stiffening so this plastic piece was cut and hand sewn to the section that would hang in the bottom back.


Photobucket
19.  NOTE:  This piece is glued ONLY on the lid piece.  This allows the lid to open and shut without restraint.


Photobucket
20. The lid is done the same as STEP 3-NOTE: make this piece the EXACT SIZE of the top to fit to the edge.
21.  Glue in place.
This travel case is now ready for many more years.